

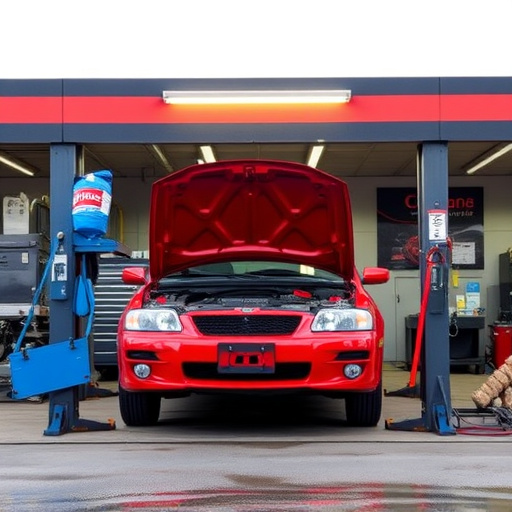
Tesla-approved adhesives are designed for the unique needs of Tesla vehicles, offering superior bonding strength, durability, and resistance to environmental factors. For body shops, they streamline reattachment processes while maintaining Tesla's high standards. The right adhesive selection is key for exterior component reattachment, ensuring structural integrity and matching original vehicle quality. Proper preparation, application, and curing times are crucial for achieving seamless, durable bonds that enhance a Tesla's post-repair appearance.
Tesla vehicles, known for their cutting-edge technology, also demand specialized care in repairs. When it comes to reattaching trim and exterior components, using Tesla-approved adhesives is crucial. This article delves into the world of these advanced adhesives, explaining their unique formulations and benefits tailored to Tesla’s stringent standards. By understanding the right adhesive choices and application techniques, owners can ensure long-lasting, aesthetically pleasing repairs for their electric vehicles.
- Understanding Tesla-Approved Adhesives: Formulation and Benefits
- Choosing the Right Adhesive for Trim and Exterior Repairs
- Application Techniques and Tips for Longevity and Aesthetics
Understanding Tesla-Approved Adhesives: Formulation and Benefits
Tesla-approved adhesives are specially designed to meet the stringent requirements of Tesla vehicles’ unique construction and design. These adhesives aren’t just about strong bonding; they incorporate advanced formulations that consider the specific materials used in Tesla cars, from lightweight alloys to composite structures. By adhering to Tesla’s standards, these adhesives ensure that repairs are both structural and aesthetic, matching the vehicle’s original performance and appearance.
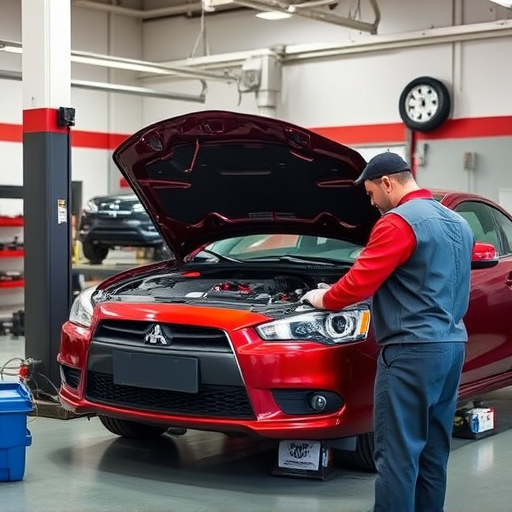
The benefits of using Tesla-approved adhesives extend beyond mere adherence. They offer enhanced durability, resistance to environmental factors like extreme temperatures and UV rays, and excellent long-term grip strength. For automotive body shops or vehicle body shops dealing with Tesla repairs, these adhesives streamline the reattachment process for trim and exterior components, ensuring a seamless fit and finish that meets Tesla’s high standards, ultimately contributing to the vehicle’s overall longevity and resale value.
Choosing the Right Adhesive for Trim and Exterior Repairs
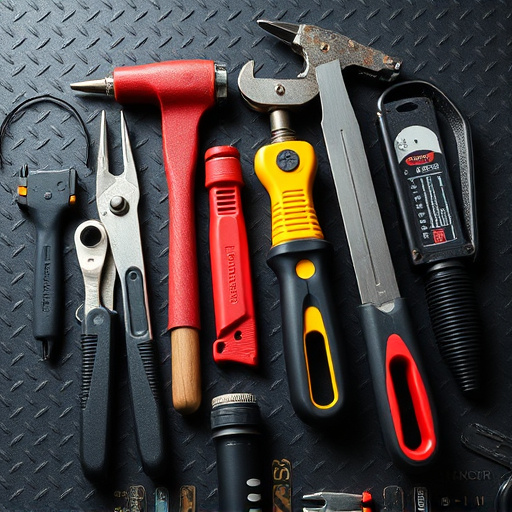
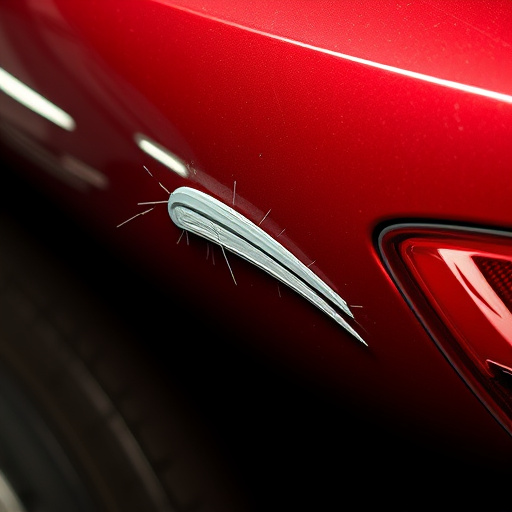
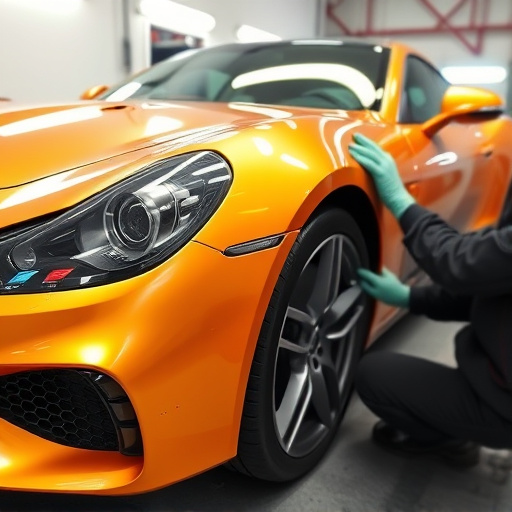
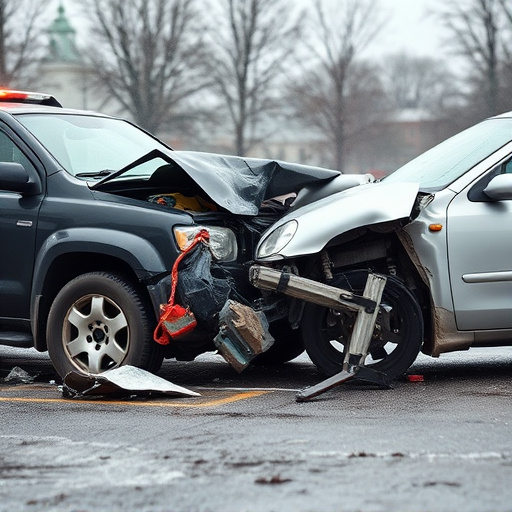
When it comes to reattaching trim and exterior components on a Tesla or any vehicle for that matter, selecting the appropriate adhesive is paramount. Not all adhesives are created equal; each has its unique properties tailored for specific applications. For Tesla owners looking to conduct DIY repairs or enlist the help of a professional auto body shop, choosing Tesla-approved adhesives ensures optimal bonding strength and long-lasting durability. These specialized adhesives are designed to withstand various environmental conditions, from extreme temperatures to exposure to UV rays, without compromising the vehicle’s aesthetics or structural integrity.
Among the many options available, considering factors such as adhesive type (e.g., cyanoacrylate, epoxy), surface preparation, and curing time is essential. For example, for small trim pieces or delicate exterior components, a fast-curing, high-strength adhesive might be ideal. In contrast, larger repairs or those involving different materials may require a more versatile adhesive capable of adhering to multiple surfaces. By carefully selecting a Tesla-approved adhesive suited to the repair task at hand, whether it’s akin to fixing a fender after a minor accident or restoring a Mercedes Benz to its former glory through meticulous auto body repair, you can achieve a seamless and reliable finish that matches the vehicle’s original quality.
Application Techniques and Tips for Longevity and Aesthetics
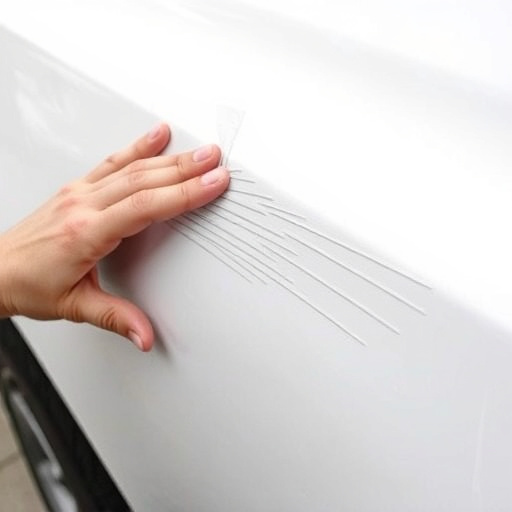
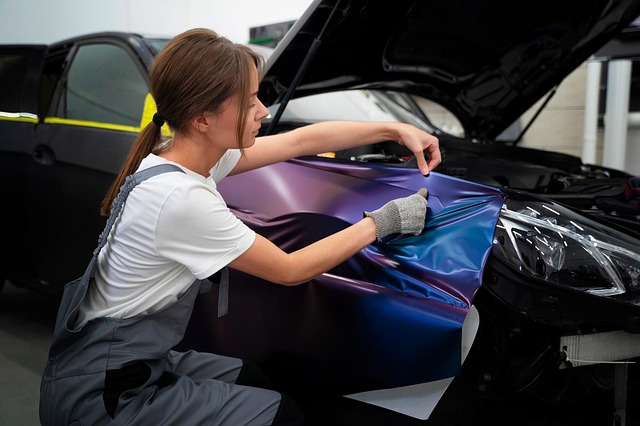
When reattaching trim and exterior components using Tesla-approved adhesives, proper application techniques are key to ensuring both longevity and aesthetic appeal. Start by preparing the surfaces meticulously; this involves cleaning the areas thoroughly to remove any dirt, grease, or debris that could compromise adhesion. A smooth, dry surface is ideal for optimal adhesive bond strength.
For best results, follow the manufacturer’s instructions regarding mixing ratios and application methods. Use a thin, even layer of adhesive, avoiding over-application which can lead to messy overspill and weak spots. For intricate or curved surfaces, consider using a precision tool like a small spatula or applicator to ensure even coverage without getting adhesive into unwanted areas (like the car’s paintwork). Proper curing time is crucial; allow the adhesive to set according to the recommended duration before attempting to reassemble components. Regular practice and attention to detail will result in high-quality, durable bonds that match the original car bodywork services, ensuring your Tesla’s exterior looks as good as new after any frame straightening or auto dent repair processes.
When reattaching trim or exterior components on a Tesla, using the right Tesla-approved adhesive is key. By understanding the formulation and benefits of these advanced materials, you can ensure lasting repairs that maintain both structural integrity and aesthetic appeal. Employing the correct application techniques, as outlined in this article, will help guarantee the longevity of your vehicle’s finish and overall satisfaction with the repair process.